Disclaimer
The mentioned functionalities may be restricted depending on the purchased software license.
公共显示控制器管理
公共显示��控制器是用于显示您自定义可视化的物理硬件设备。本综合指南涵盖了您需要了解的控制器管理的所有内容,从初始认领到高级配置选项。
📋 概述
什么是公共显示控制器?
公共显示控制器是一种专用显示设备,具有以下功能:
- 🖥️ 渲染在SmartgridX中创建的自定义可视化(公共显示)
- 📱 支持各种屏幕尺寸,具有响应式布局
- 🔧 需要认领以与您的SmartgridX账户链接
关键特性
| 特性 | 描述 |
|---|---|
| 🎨 自定义显示 | 根据您的模板展示个性化公共显示 |
| 📊 实时数据 | 显示实时安装数据和指标 |
| 📐 响应式设计 | 自动适应不同的屏幕尺寸 |
| 🔒 安全访问 | 需要验证代码进行账户链接 |
| ⚙️ 远程管理 | 通过SmartgridX网页门户配置和更新显示 |
�🚀 入门指南
先决条件
在您开始之前,请确保您拥有:
- ✅ 物理控制器设备,配有电源、以太网和与显示器的HDMI连接
- ✅ 具备适当权限的SmartgridX账户
- ✅ 控制器凭证(从设备贴纸上获取的序列号和验证代码)
重要安全信息
关键安全通知
🔐 保护您的凭证: 在控制器贴纸上打印的序列号和验证代码是永久且不可替代的。
最佳实践:
- 📝 立即记录 - 收到设备后,将凭证记录在安全文件中
- 🚫 支持限制 - 出于安全原因,我们的支持团队无法提供验证代码
- 📷 照片备份 - 考虑拍一张清晰的贴纸照片作为额外备份
🎛️ 控制器管理界面
访问控制器部分

导航步骤:
- 登录到您的SmartgridX账户
- 在主侧边栏中导航至**“公共显示”**
- 在概览页面上单击**“前往公共显示控制器概览”**按钮
这将打开控制器概览表,您可以在其中查看、认领和管理所有设备。
控制器概览表

控制器表提供:
| 列 | 信息 |
|---|---|
| 📟 设备名称 | 便于识别的自定义名称 |
| 🔢 序列��号 | 唯一设备标识符 |
| ⚙️ 操作 | 编辑或放弃选项 |
界面元素:
- ➕ 认领公共显示控制器 - 右上角的绿色按钮,用于添加新设备
- 📅 表格 - 显示所有已认领控制器及其详细信息
🔗 认领您的控制器
逐步认领过程
1. 启动认领
单击**绿色“认领公共显示控制器”**按钮以开始注册过程。
2. 输入控制器凭证
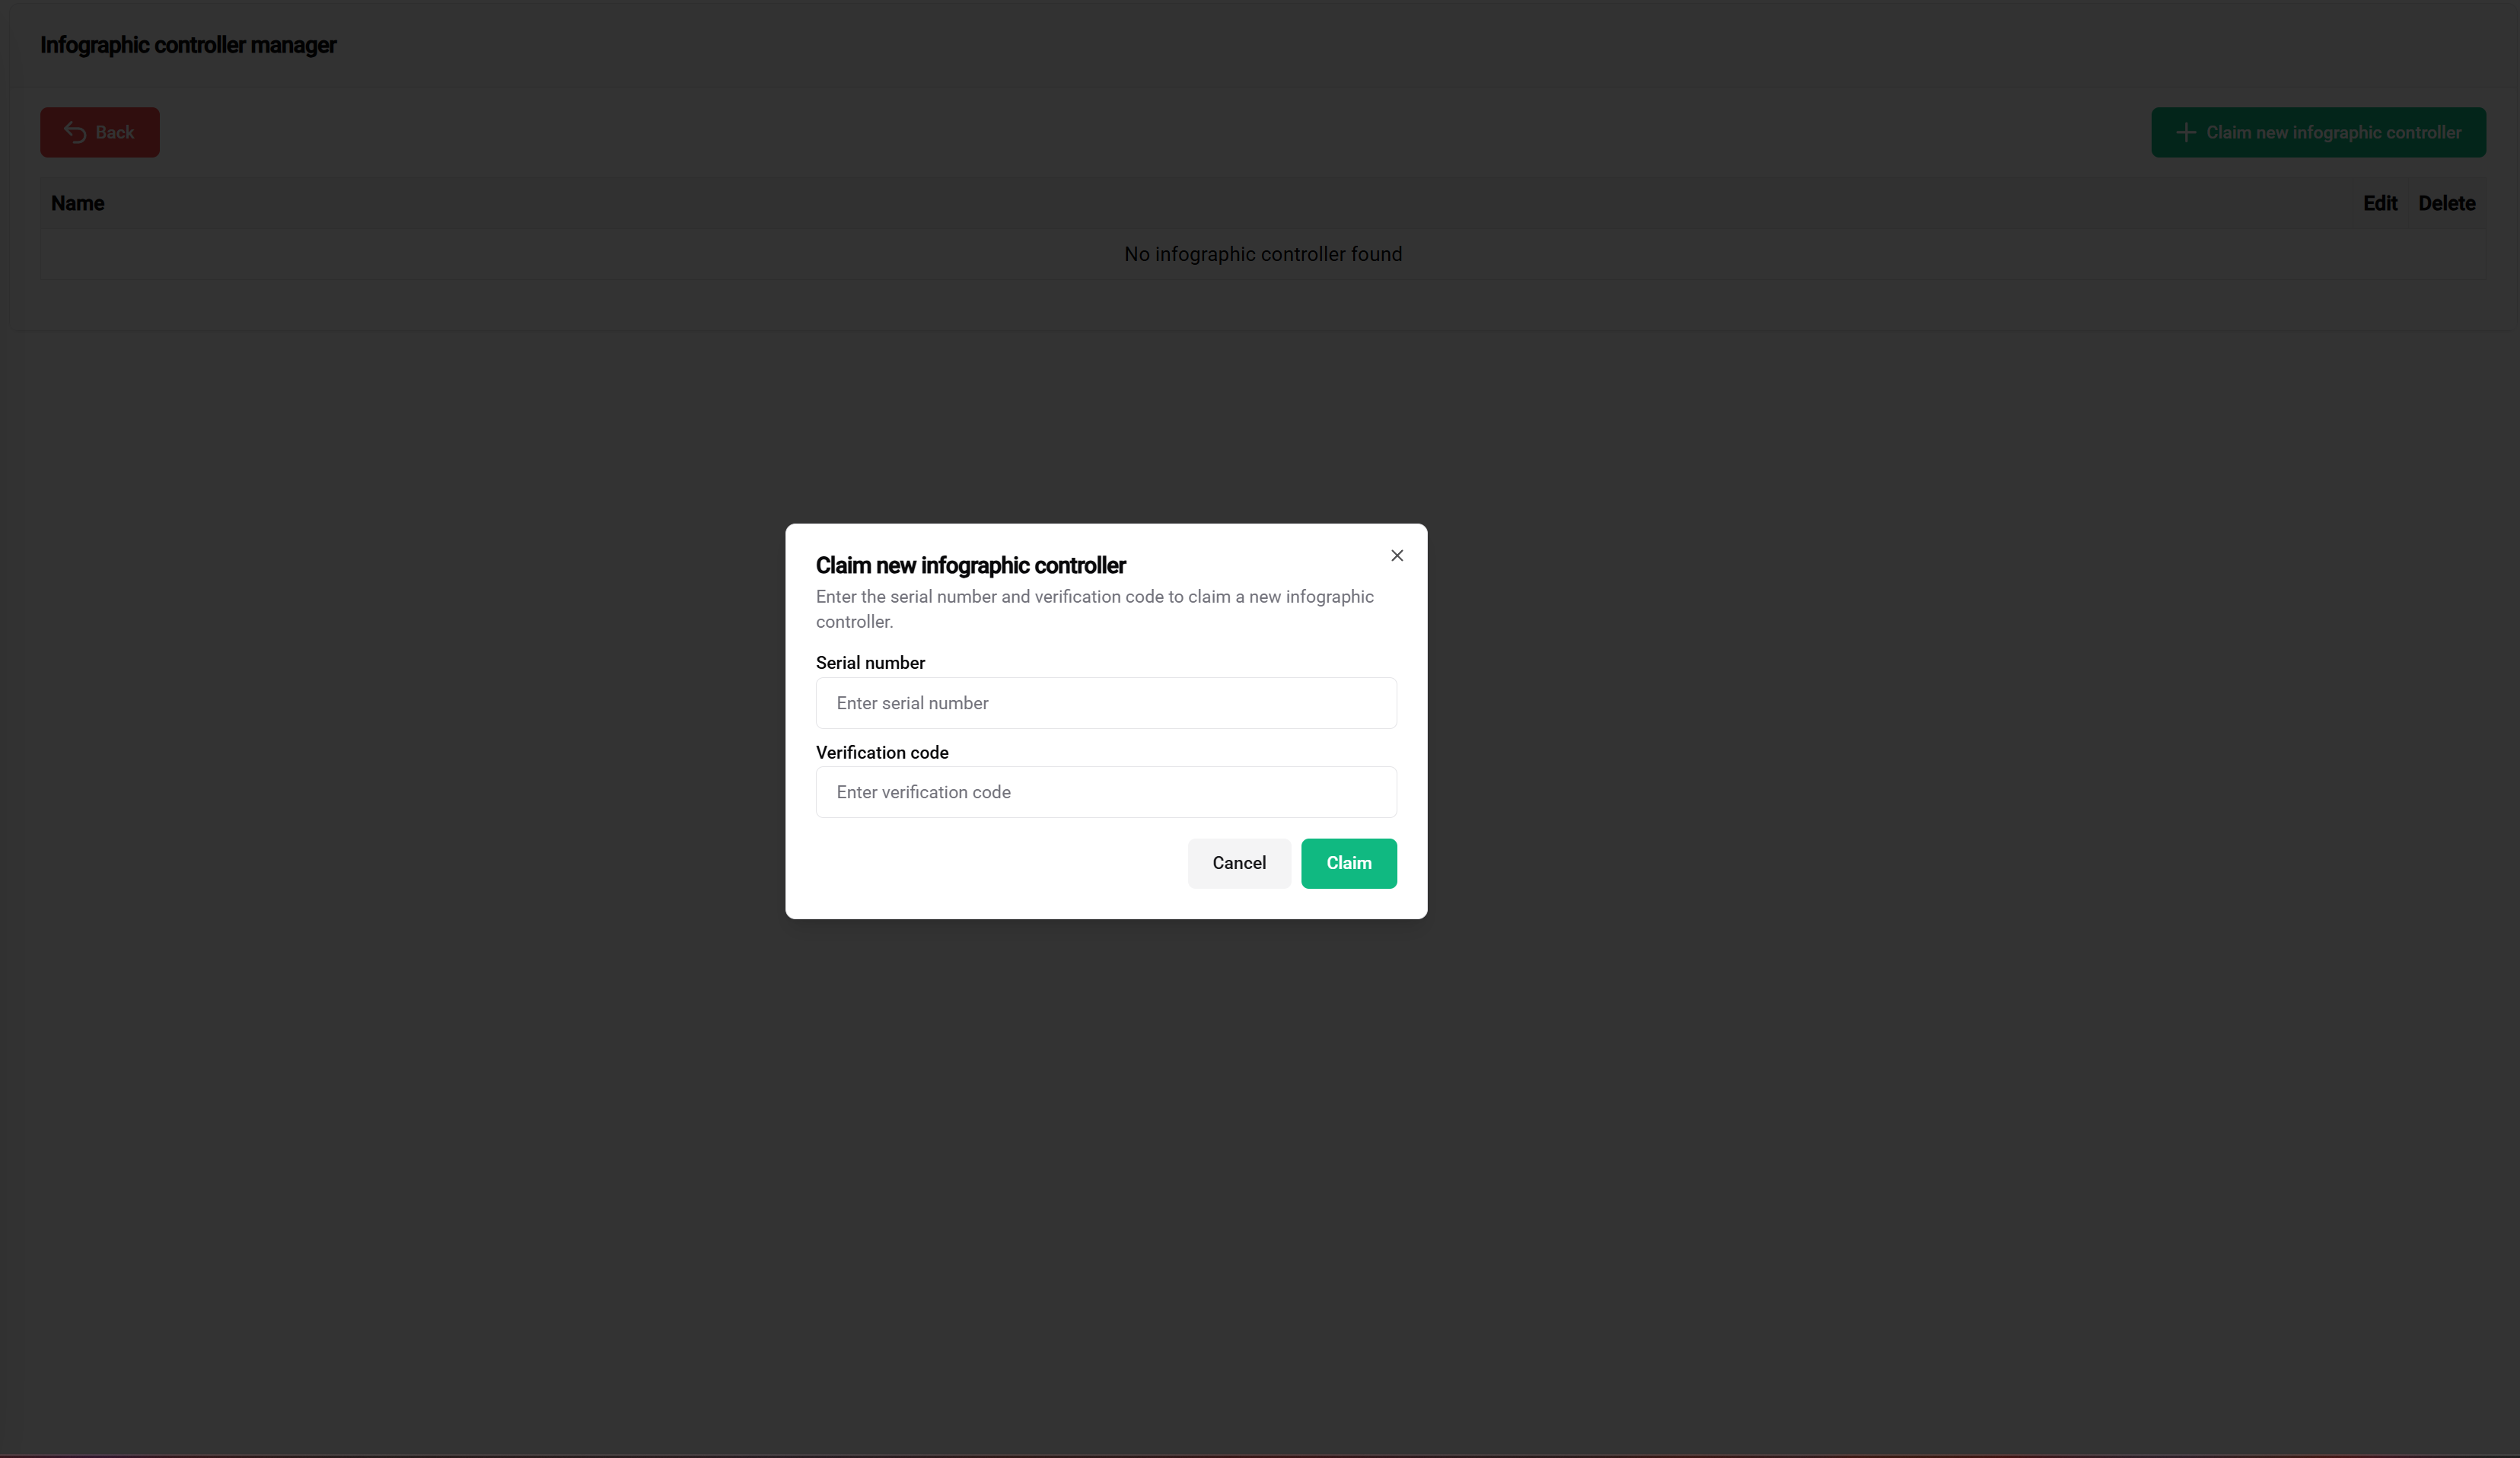
所需信息:
- 📟 序列号
- 🔐 验证码
位置: 打印在控制器设备贴纸上
格式: 字母数字代码(因型号而异)
目的: 设备唯一标识
提示:
- ✅ 双重检查以确保准确性
- ✅ 多次与设备贴纸进行核对
位置: 打印在控制器设备贴纸上
格式: 安全代码(因型号而异)
目的: 防止未授权设备的认领
重要说明:
- 📝 使用前记录 - 保存在安全位置
- 🔒 不与未经授权人员分享
- ⚠️ 支持无法检索丢失的代码 - 确保凭证安全且易于访问
3. 提交和验证
输入两个凭证后:
- 仔细检查两个字段的准确性
- 单击**“认领控制器”**以提交
- 等待验证 - 系统使用设备数据库验证凭证
认领结果

✅ 认领成功:
- 控制器出现在您的管理表中
- 分配了默认名称(通常基于序列号)
- 状态显示为“已认领”或“准备配置”
- 可用于模板分配和配置
❌ 常见认领问题:
| 错误 | 原因 | 解决方案 |
|---|---|---|
| 无效序列号 | 输入错误或格式不正确 | 与设备贴纸进行核对 |
| 无效验证码 | 代码输入不正确 | 检查贴纸,确保完全匹配 |
| 已被认领 | 设备已注册到其他账户 | 如果是合法情况,请联系支持 |
| 设备未找到 | 序列号不在系统中 | 验证设备的真实性 |
⚙️ 控制器配置
基本控制器设置
一旦认领,您可以配置各种控制器设置:
设备命名
目的: 为便于在大规�模部署中识别而创建有意义的名称
最佳实践:
- 🏢 基于位置: “大楼-A-大厅”,“工厂-楼层-2”
- 🎯 基于功能: “主仪表板”,“KPI-显示”
- 📅 基于项目: “项目-阿尔法-监控”
网络配置
连接要求:
- 🌐 **互联网访问(仅限以太网)**以进行数据同步
- 🔒 防火墙允许列表中的SmartgridX域
- 📡 稳定连接以进行实时更新
高级管理选项
控制器操作
| 操作 | 目的 | 何时使用 |
|---|---|---|
| ✏️ 编辑名称 | 更新控制器识别 | 组织调整、位置变更 |
| 🔗 链接配置 | 分配公共显示模板 | 初始设置、模板更改 |
| 🔓 放弃认领 | 从账户中移除 | 停用、转让 |
📚 相关文档
下一步
成功认领控制器后:
🎯 准备部署了吗? 随着您的控制器正确认领和配置,您已准备好为您的SmartgridX安装创建令人惊叹的公共显示!