
Installieren, beanspruchen und konfigurieren Sie einen Controller-Controller in drei klaren Schritten.
Vom Auspacken bis zu einer betriebsbereiten Anlage in drei klaren Schritten. Prüfen Sie Ihre Hardware, schließen Sie die wesentlichen Komponenten an und führen Sie die Inbetriebnahme online durch.
Beginnen Sie mit dem auf Ihrer Bestellung angegebenen Controllermodell. Die aktuellen Pro- und Light-Modelle verwenden nicht genau dasselbe Zubehör.
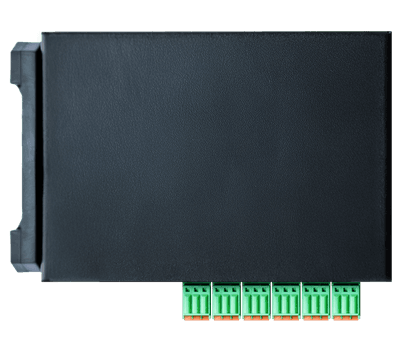
Current EDS model
Verwenden Sie die optionale Wandhalterung, wenn keine DIN-Schiene verfügbar ist.
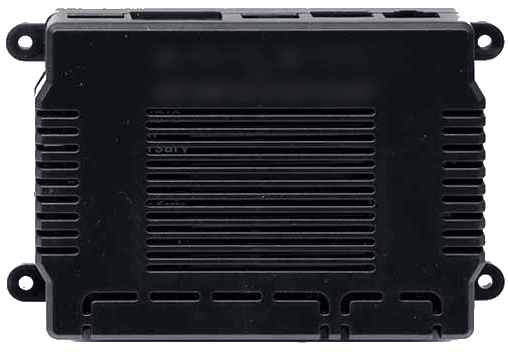
M1S model
Fügen Sie einen RS485-zu-USB-Konverter hinzu, wenn Sie eine direkte RS485-Verbindung benötigen.
Der Lieferumfang kann bei älteren Controllermodellen und auftragsspezifischen Paketen abweichen. Vergleichen Sie die gelieferte Hardware mit Ihrer Auftragsbestätigung, bevor Sie zum Installationsort fahren.
Zubehör ist nicht für jede Installation erforderlich. Stimmen Sie es auf den Zähler, die Kommunikationsmethode, das Controllermodell und den Montageort ab.
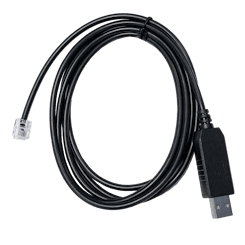
Verbinden Sie den Controller direkt mit dem Benutzerport eines kompatiblen Smart- oder Digitalzählers.
Controller und LightZubehöranleitung lesen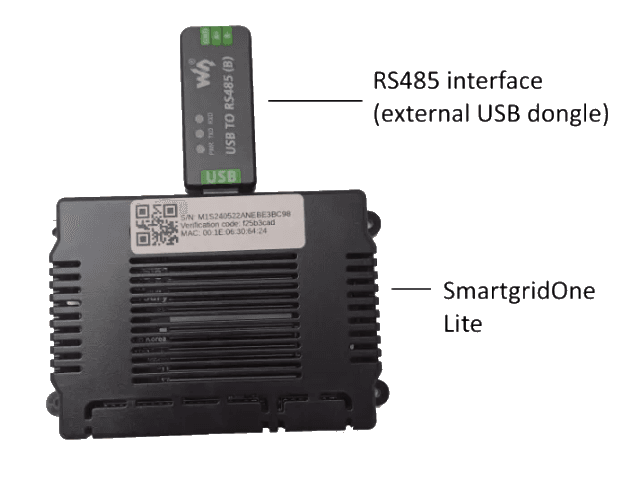
Stellen Sie einem Controller eine direkte RS485-Schnittstelle für nahegelegene Modbus-RTU-Geräte bereit.
ControllerZubehöranleitung lesen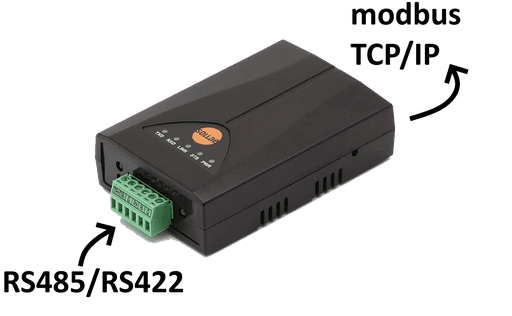
Binden Sie ein RS485-Gerät in das lokale Netzwerk ein, wenn ein direktes serielles Kabel nicht praktikabel ist.
Controller und LightZubehöranleitung lesen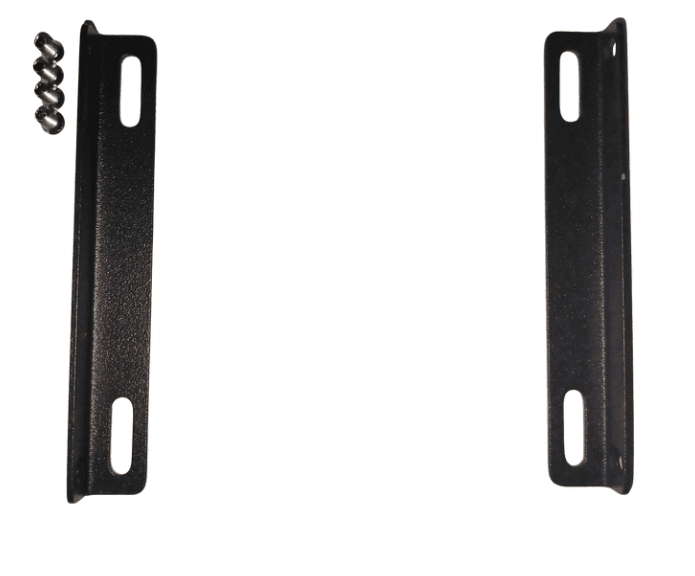
Montieren Sie das aktuelle Pro-EDS-Modell an einer Wand, wenn der standardmäßige DIN-Schienenclip nicht verwendet werden kann.
Controller, Modell EDSFühren Sie diese Prüfungen durch, bevor Sie den Controller montieren oder mit Strom versorgen.
Bestätigen Sie, dass jeder Wechselrichter, Zähler, jede Batterie, jedes Ladegerät und jede Wärmepumpe unterstützt wird.
Verwenden Sie ein Installateurkonto, mit dem Sie den Controller beanspruchen und konfigurieren können.
Stellen Sie eine aktive Ethernet-Verbindung mit DHCP und den erforderlichen ausgehenden Ports bereit.
Stellen Sie einen unterstützten Netzzähler oder einen aktiven P1/A1-Benutzerport bereit.
Für genaue Messungen des Netzes sollten Sie den digitalen Zähler nach Möglichkeit direkt über den P1/A1-Benutzerport anschließen. Ein Energiezähler, der bereits mit einem anderen Gerät, beispielsweise einem Hybridwechselrichter, verbunden ist, kann in der Regel nicht zusätzlich vom Controller verwendet werden.
(204), Energiemanagement-Modus-Register > Installationen in Belgien: Der P1-Benutzerport eines digitalen Fluvius-Zählers ist standardmäßig deaktiviert. Aktivieren Sie ihn über Der P1-Benutzerport des digitalen Zählers wurde über . Nach der Aktivierung kann es mehrere Stunden dauern, bis Messwerte verfügbar sind.
Arbeiten Sie diese Schritte in der angegebenen Reihenfolge durch. Beginnen Sie erst mit der Konfiguration, wenn der Controller mit Strom versorgt wird, über eine kabelgebundene Netzwerkverbindung verfügt und Internetzugang hat.
Montieren Sie den Controller und schließen Sie alle physischen Schnittstellen an, bevor Sie ihn mit Strom versorgen.
Fügen Sie den Controller Ihrem Installateurkonto hinzu und schließen Sie den integrierten Inbetriebnahmeassistenten ab.
Gewähren Sie dem Kunden erst dann Zugriff, wenn die Inbetriebnahme und die Funktionsprüfungen abgeschlossen sind.